For Tags go to Stories Tags.
...
If prompted, select a Content Group from the list to filter content by that Content Group. Content Groups are created and managed in the System Tools > Content Groups module.Anchor AddNewStory AddNewStory 
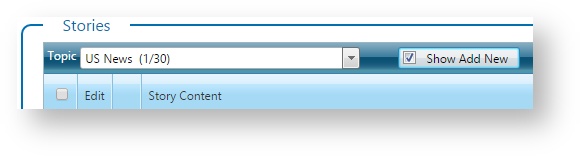
- If the Add A New Story panel is not showing, click Click on the Show Add New button in the header row of the Stories grid.
- Select story details as described in the following table and click AddSave.
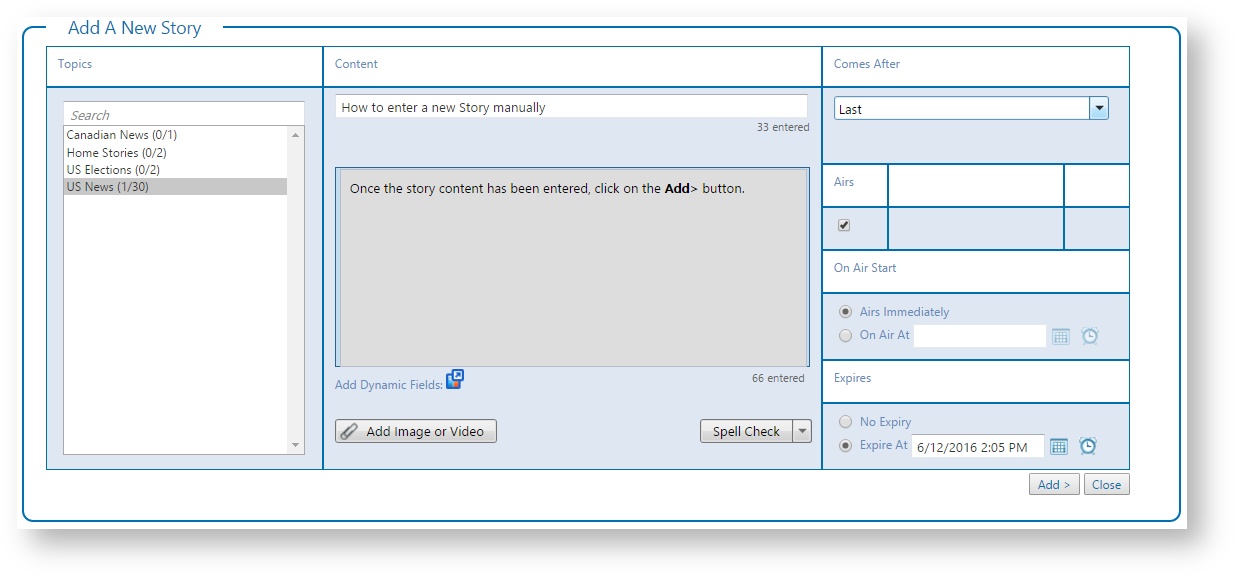
| Story Option | Details | ||
|---|---|---|---|
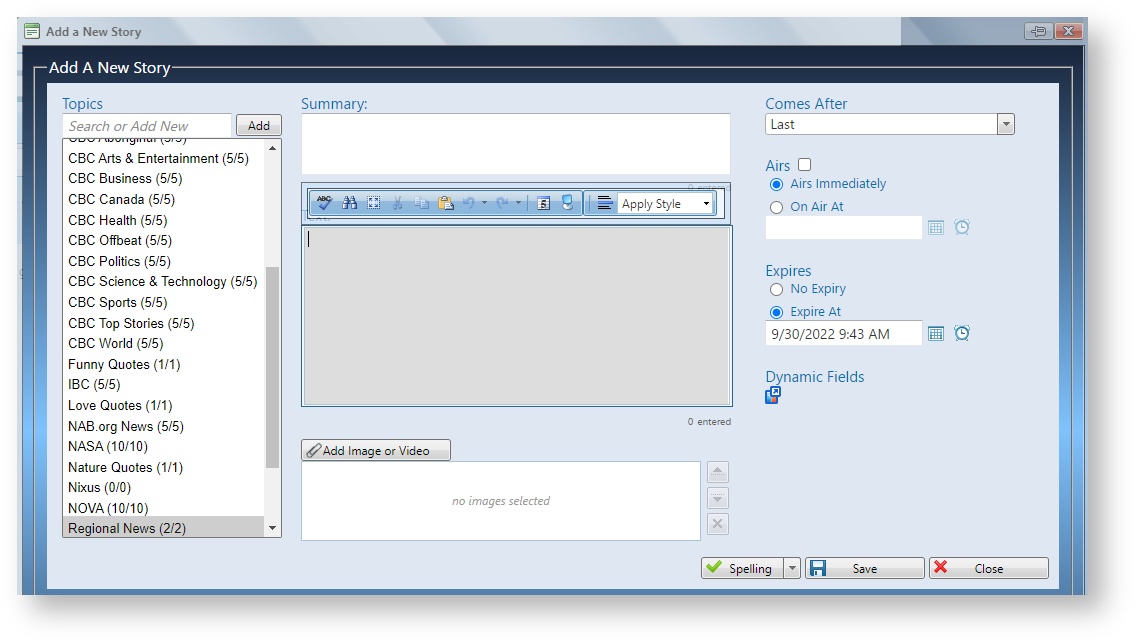
| Topic | Select a topic from the Topics list. Story topics are You can also choose to select multiple topics to add a story to. See the Story Topic module for details. | Header | Optional (Use CTRL+click or SHIFT+click) |
| Summary | Optional. This can be used as a Header for the main text or to provide a short summary. | ||
| Text | Right-click to paste copied text or copy as plain text. Formatting and spell check options are also available.
An Administrator can customize the available styles in the Rich Text Style module. | ||
| Image | Click Add Image or Video to access the Media Management module's Selection dialog and access available media or add something new. See the topic Media Management for details. | ||
| Dynamic Fields | When Chameleon is configured to support dynamic fields, your existing scores data can be supplemented with additional custom data fields. Some fields may be set up for you already. You can also create new custom fields on the fly as you need them. Like your other score data, these These custom fields can be populated with an integrated data feed or populated manually. Click on Add Dynamic Fields to bring up the Dynamic Fields Editor. You can add, remove or create dynamic fields using the Editor. | ||
| Order | Specify the order of this new story using the Comes After option. You can make this the first story, last story, to have the story come after a specific existing story in the list. | ||
| Airs | Specify whether the story is enabled for broadcast or not. Clear the Airs option to disable the story.
| ||
| On Air Start | Use the Date and Time options to specify when the story goes to air, or if it can air immediately. | ||
| Expiry | Use the Date and Time options to specify an expiry date and time for the story. You can also set the story to never expire. See Story Expiry Dates below for details. |
...
Many websites publish content updates, called feeds, that you can subscribe to, such as headlines, breaking news, traffic details, or community events. As you subscribe to feeds, Flow monitors that content feed for updates. As new story content is made available through the RSS feed, those stories are can be made available in the Stories module for specific story topics, and you can manage the stories for broadcast as needed.
...
| Action | Details | ||
|---|---|---|---|
| Selecting Multiple Stories | To do this, you can either:
| ||
| Modify Stories |
| ||
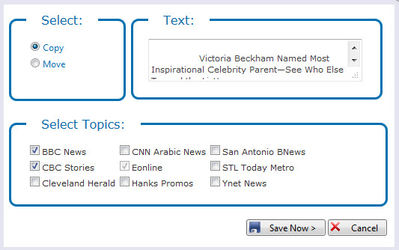
| Copy Stories |
| ||
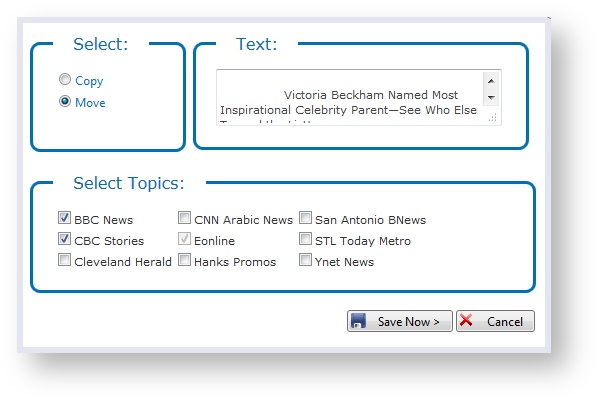
| Move Stories |
| ||
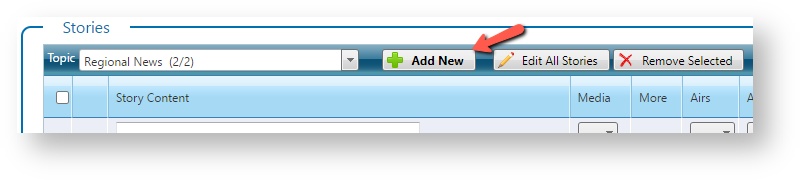
| Remove Stories | Removing a story is a permanent action that cannot be undone. Click Remove 
Remove Selected button in the Stories grid header. You will be asked for confirmation. Press the OK button to proceed with the deletion. 
| ||
| Enable or Disable Story for Broadcast |
| ||
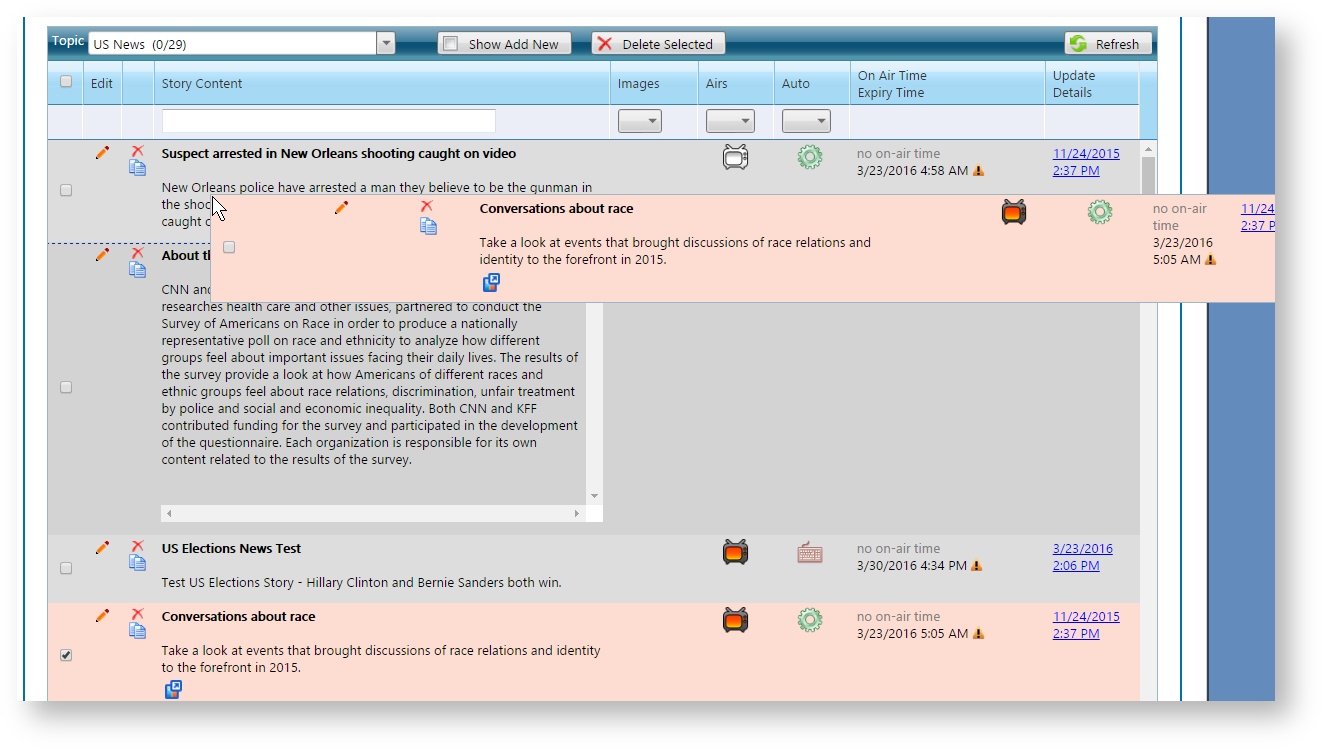
| Identify How Stories Originate | Story data can originate from an RSS feed or other external data feed, or they can be added manually. The Auto column identifies story data origin as follows:
 Indicates that the story originated from an external data feed. The short name of the data feed (if available) will be shown below this image. Indicates that the story originated from an external data feed. The short name of the data feed (if available) will be shown below this image. | ||
| Sort Existing Stories | You can sort the columns of the table by clicking on a column header to sort in ascending or descending or default order (which is the broadcast order). Sorting by column does not affect broadcast output.
| ||
| Filter Stories | You can filter the Existing Stories list by:
| ||
| Reorder Existing Stories | You can reorder stories for broadcast output by left clicking on and holding the story that you wish to move. Then drag the story to the selected position and drop the story by releasing the left mouse button. The dashed line indicates where the dragged item will be dropped.
You can also reorder multiple stories at the same time by selecting all the stories you want to move. See Select Multiple Stories above. Next, click and hold down the left mouse button on one of the selected stories and drag the selected stories to the desired location. Then release the left mouse button to re-position the stories.
| ||
| Refresh Existing Stories List | Click Refresh at any time to update the list of stories. |


...
(Added in version 7.7.5.3)
Default Position for Manual Stories
Enter 'First' or 'Last' as the default position for new stories when entered manually.
Enable Air by Default
True indicates that the story editor defaults to enabling a story to air for new stories when entered manually.
Enable Images
True indicates that the story editor allows images to be used with stories. Requires Media Bin to be enabled.
...
Using Chrome Extension : Play HLS M3u8
...