Hello World Ticker
Prerequisites
Before we begin, the following prerequisites are required:
- Access to Chameleon (flow login)
- Chameleon Designer installed
- Chameleon Web Server (player) installed
The installers for the above are available here:
https://bannisterlake.com/dl/installs/Chameleon
Create a simple project
Launch the Designer.
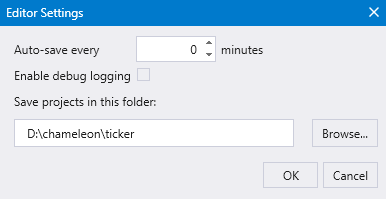
We’ll use a directory something like d:\chameleon\ticker by the designer and player to store your graphics.
In the designer, open menu item Settings->Editor Settings…
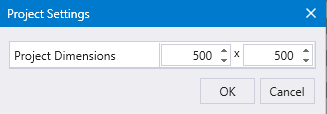
Set the size of our ticker’s canvas using menu item Settings->Project Settings…
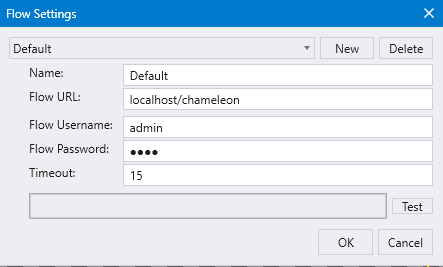
Enter flow credentials in menu item Settings->Flow Settings…
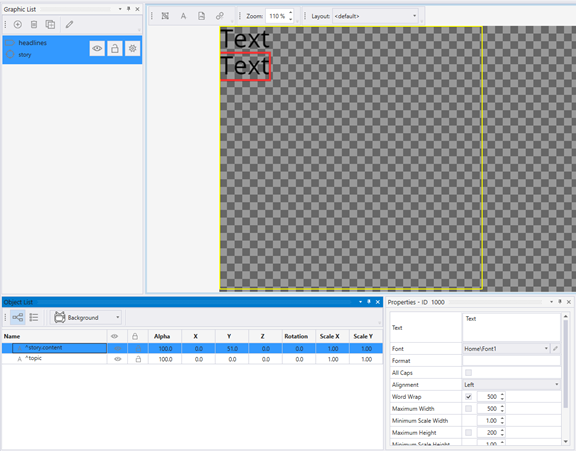
Duplicate something similar to this:
Note: we’re doing a single zone stories ticker with 2 text boxes; one for the story topic and the other for the story (content). Note that word wrap is set for the story but doesn’t need to be set for the topic name. Since browsers are often defaulted to a white background, make the text colour something other than white.
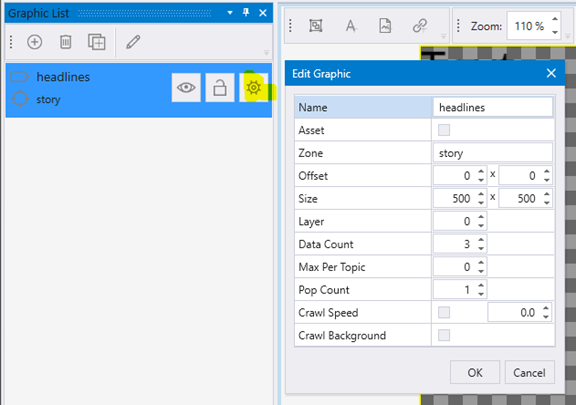
The scene is defined using the name headlines and a single zone of story. A dialog for the scene can be shown by pressing the settings button for the scene:
Make sure you don’t have the Asset checked because that’s used to create branding scenes.
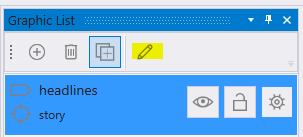
Create a timeline for the scene from here:
Save the project.
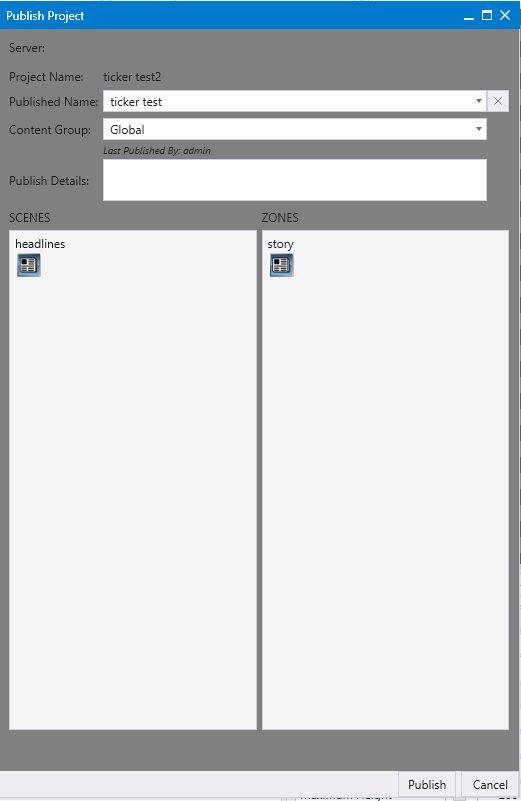
Publish the project using the File->Publish… menu item:
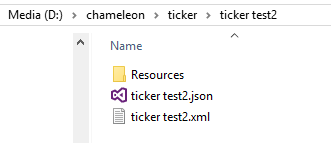
Export the project using the menu item File->Export Project… This may seem like a redundant step but here’s how to understand this. Designer projects are saved in xml format. When a project is saved, we’re saving the xml. However, the player (Chameleon Web Server) plays out using a json version of the project. Why not always save the json when saving the xml or when publishing the project? This is one to debate 😊.
Note: When do you need to publish and when do you need to export a project? If you make big changes to the project like adding new scenes or zones, you need to publish. But generally, you always need to export the project if you want to see changes to the scenes like timelines, fonts,... Just consider that the player reads the json which is the by-product of exporting projects. So, if the project isn't exported, the changes won't be available to the player.
Define the show in Flow
Log into flow.
Make sure some stories are available either by adding a few topics manually or getting some using an rss or community reader.
Go to Ticker->Rundowns from the dashboard.
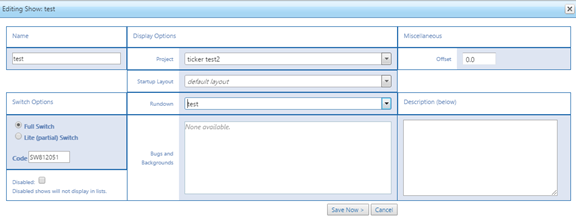
Go to the Shows tab and create this show by pressing the Add a New Show option:
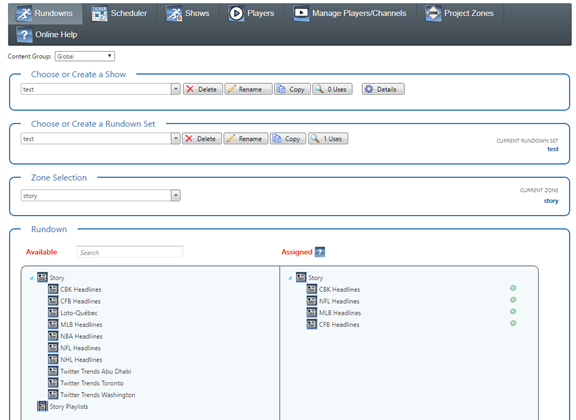
You may need to go back to the above because the rundown needs to be created and then set for the show. Create a rundown here:
Your story topics will appear of course instead of what is shown above.
Chameleon Web Server (aka Player)
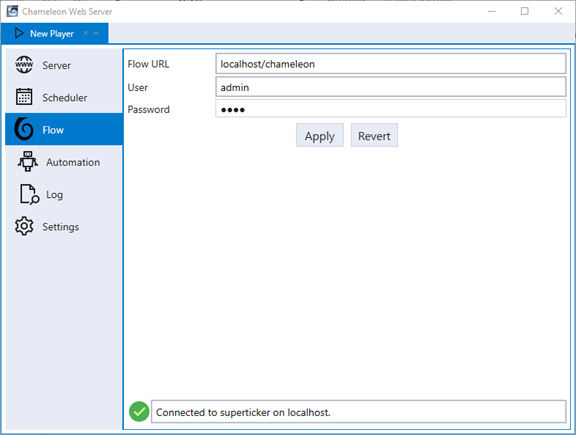
Open the web server. It’s a service so might be hidden in your tray. Create or update a player instance. Set the Flow to match your credentials:
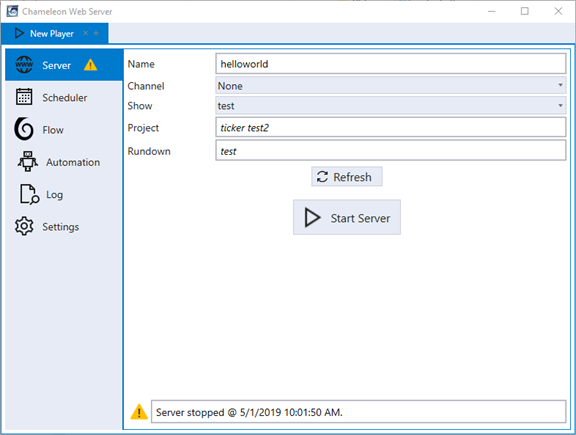
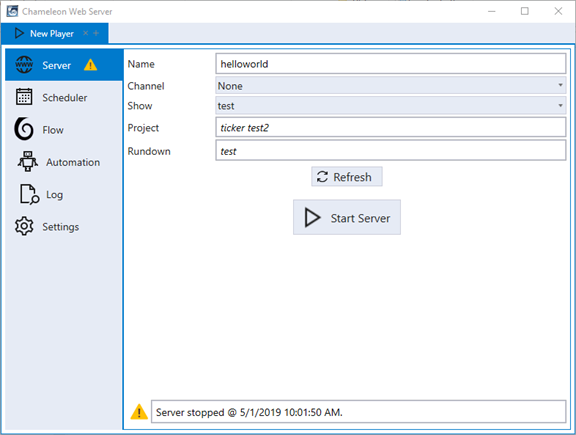
Set the Server like this:
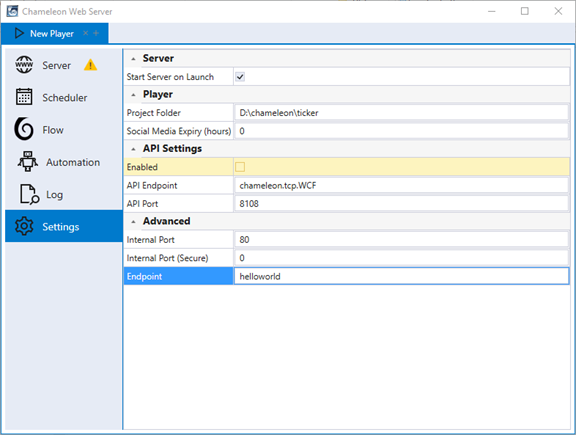
And then set the project folder and endpoint in the Settings tab:
Note: make sure your project folder matches up to the project folder defined in the designer (in the case where they actually are supposed to match up).
Press the Start Server button:
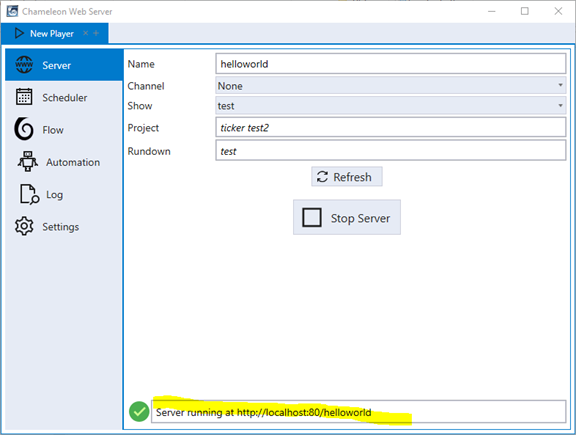
Once started, the player shows us what the url is for our browser:
Browser
Enter in your endpoint/url into a browser. In the above, it would be simply localhost/helloworld
Related articles
