BXF Reader
- Joe Izarbez
The BXF Reader will read Broadcast Exchange Format xml files and import them into Brando program schedules.
To start using the Reader, setup the database connection from the Setup tab:
Setup Tab Details

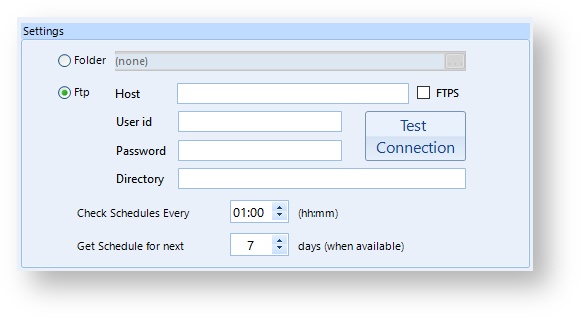
The Setup Tab contains the following settings
| Option | Description |
|---|---|
| Folder | Select this option to read BXF xml files from a folder that can be selected using the folder browser. |
| Ftp | Select this option to read BXF xml files from an ftp site and enter your ftp connection details in the available controls. |
| Check Schedules Every X | You can configure how often the Folder or FTP site is polled using this option. |
| Get Schedules for next X days | The reader will attempt to read schedules ahead by this number of days if they are available. |
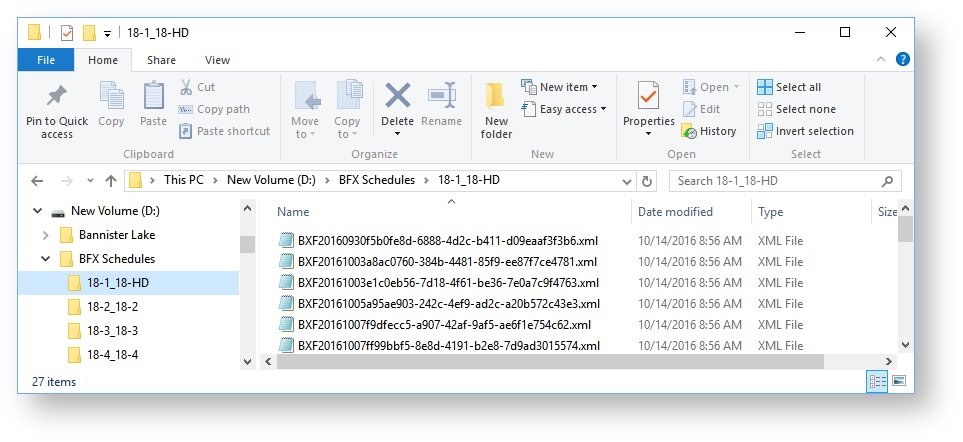
For both Folder and Ftp options the BXF reader will look for BXF xml files to be organized in sub folders by channel. With each channels schedule files being in separate folders.
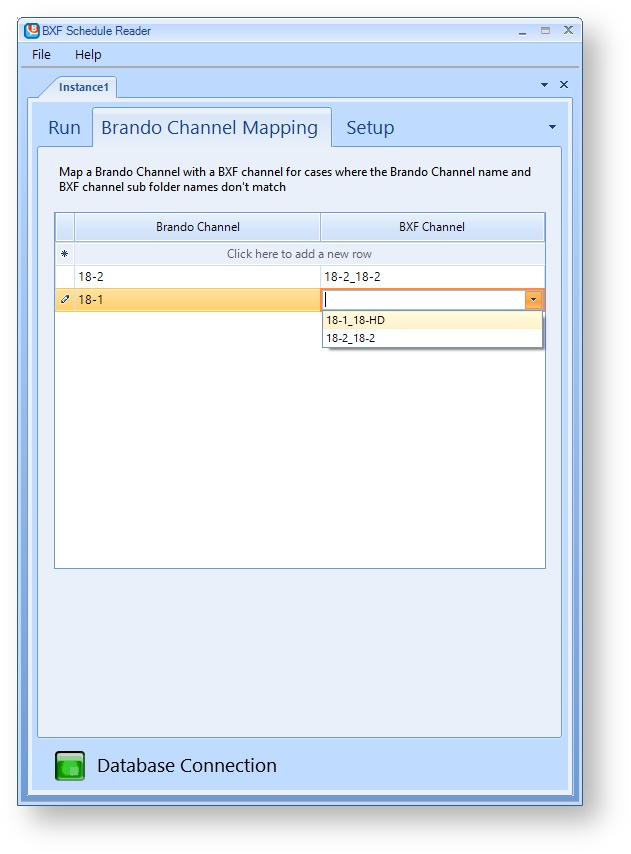
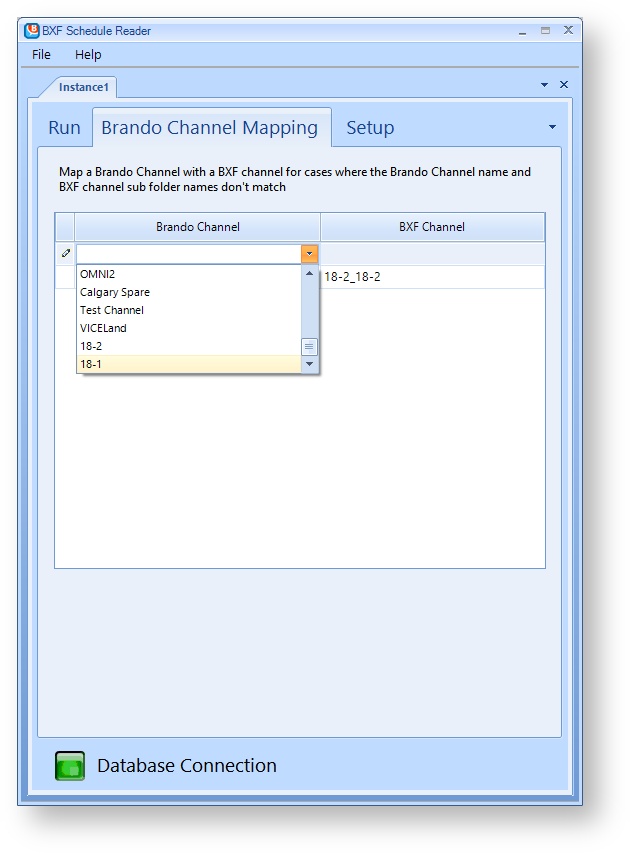
Brando Channel Mapping Tab Details
The BXF Reader will attempt to automatically map a BXF Schedule with an existing Brando Channel by looking for a Brando Channel with the same name as the BXF schedule sub folder found on the ftp site or folder.
If a BXF Schedule sub folder uses a different name from the Brando channel it will be populating, the Brando channel can be mapped to the appropriate BXF channel using the Brando Channel Mapping tab.
Run Tab Details
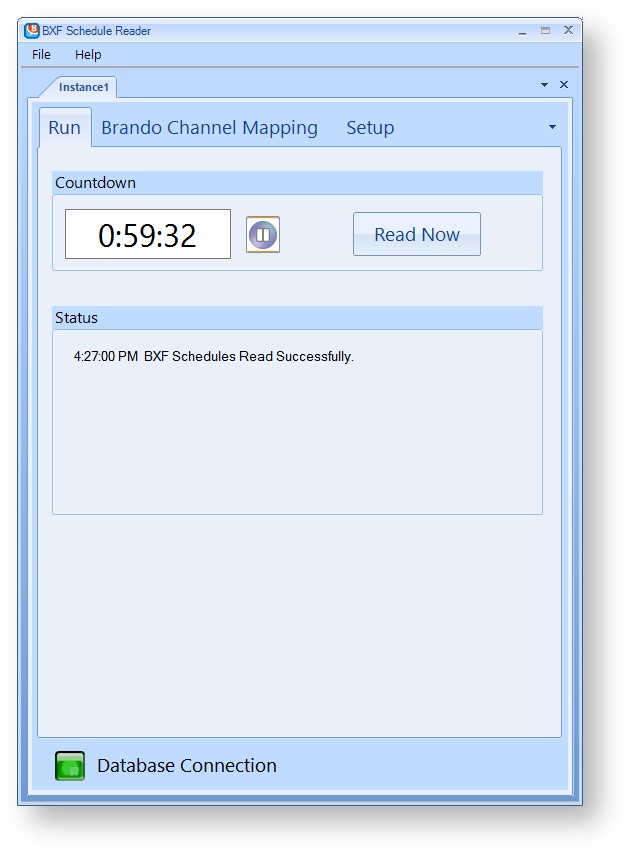
The Run tab display the following details
| Countdown | By default, the BXF Reader attempts to retrieve data every hour. You can adjust this frequency on the Setup tab. Click Read Now to manually retrieve data on demand and bypass the countdown clock. |
| Status | Data retrieval status and time stamp |
Check for Updates
When you open BXF Reader, it automatically checks for updates and prompts you if a newer reader version becomes available.
You can manually check for updates at any time by selecting Help > Check for Updates.
Multiple Server Instance Support
You can create and manage multiple server instances for the BXF Reader.
- To create another instance, select File > New Instance.
- Assign the instance a name and configure that instance for a specific database.