Named Snipes
- Jonathan Schmale
- Alain Savoie
Named Snipes allow for tight integration with traffic/automation. They can be defined to represent house numbers in traffic. Traffic schedules the "spots" using the house number and Brando Player waits for a trigger from automation that gives us the house id. If Brando Player has a Named Snipe with name = house id, it plays it.
Named Snipes also are useful for live shows. Instead of having them represent house ids, they can just be a name which readily identifies them to be triggered from the Switcher. So, we might have a name like "Subway CFL Spot" and while the CFL game is on, the TD running the Switcher app can choose the correct Named Snipe for one or multiple channels and trigger it.
Named snipes can be available to all channels though you can choose to limit which channels will see it available. That is, when defining a Named Snipe in Flow, you are defining them once for all channels to potentially use.
Flow users with appropriate permissions, including Switchers and Administrators, can view and access named snipes.
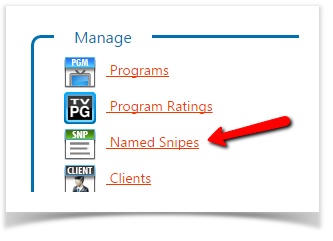
Named snipes are managed in Flow. From the Home page, select Manage > Named Snipes.
View Named Snipes
You can view and manage all your named snipes from the Named Snipes overview grid. There are options for filtering and sorting to help you focus on the ones you are interested in.
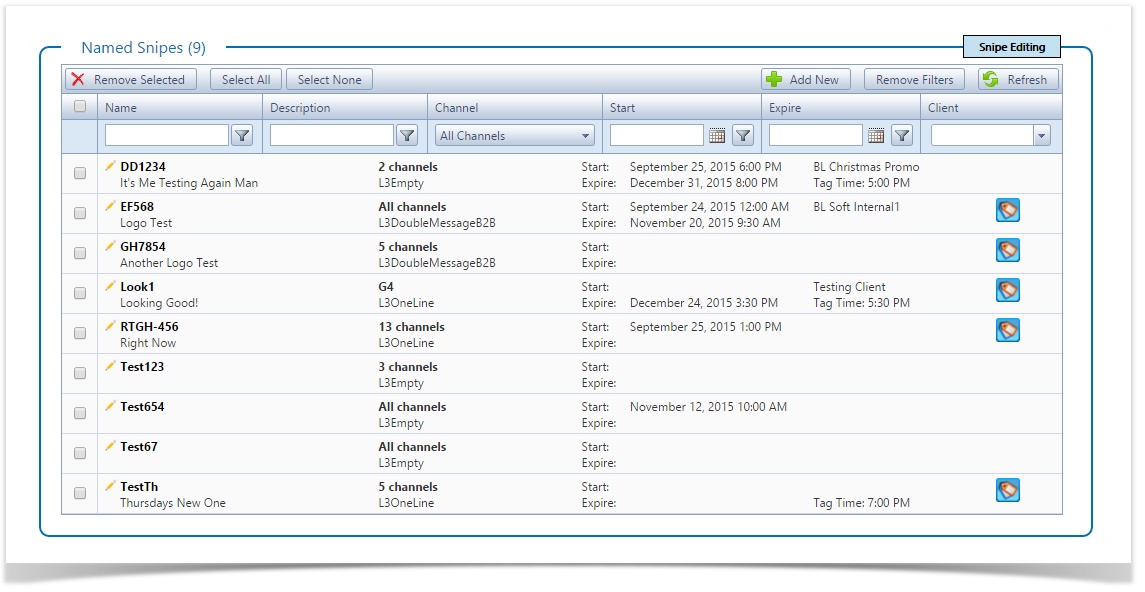
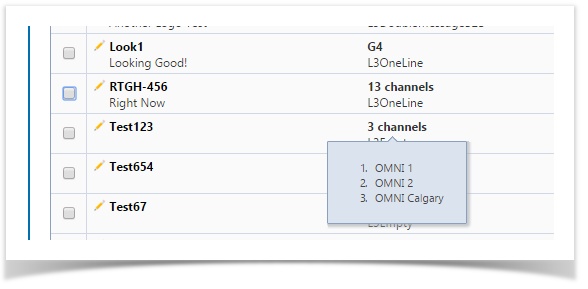
If a named snipe is not assigned to all channels then it will display either the name of the 1 channel it is assigned to or simply a count of channels. You can view the channels assigned when there is more then one as a popup tooltip that will appear when your mouse hovers over the channel count. The sample image below shows a snipe assigned to 1 channel (G4) in the first row and then 2 snipes assigned to 13 and 3 channels respectively after that. The tooltip shows the 3 channels assigned.
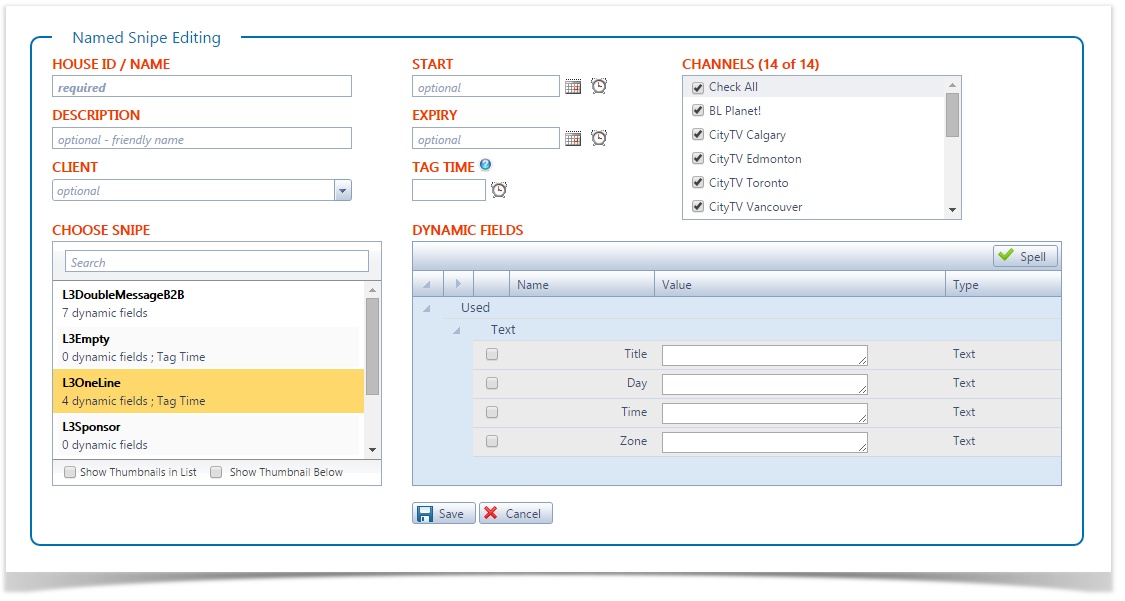
Add a Named Snipe
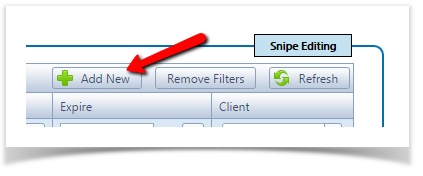
- Click the Add New button
- Type in a unique name
- Optional - type in a description
- Optional - select a Start date and time
- Optional - select an Expiry date and time
- Optional - select channels the named snipe will be available to (defaults to all channels)
- Select a snipe scene
- If applicable - assign a tag time
- If applicable - assign a client
- If applicable - fill in the dynamic field values for the snipe scene
- Click the Save button to save it
TIP: To add mulitple named snipes you can click the Snipe Editing button in the top-right corner of the overview grid to activate the batch editing mode. When you do this you can add/edit multiple snipes without returning to the grid after each save.
Edit a Named Snipe
- Select the named snip from the list. Click on the snipe name or the edit icon.
- Make your changes
- Click the Save button
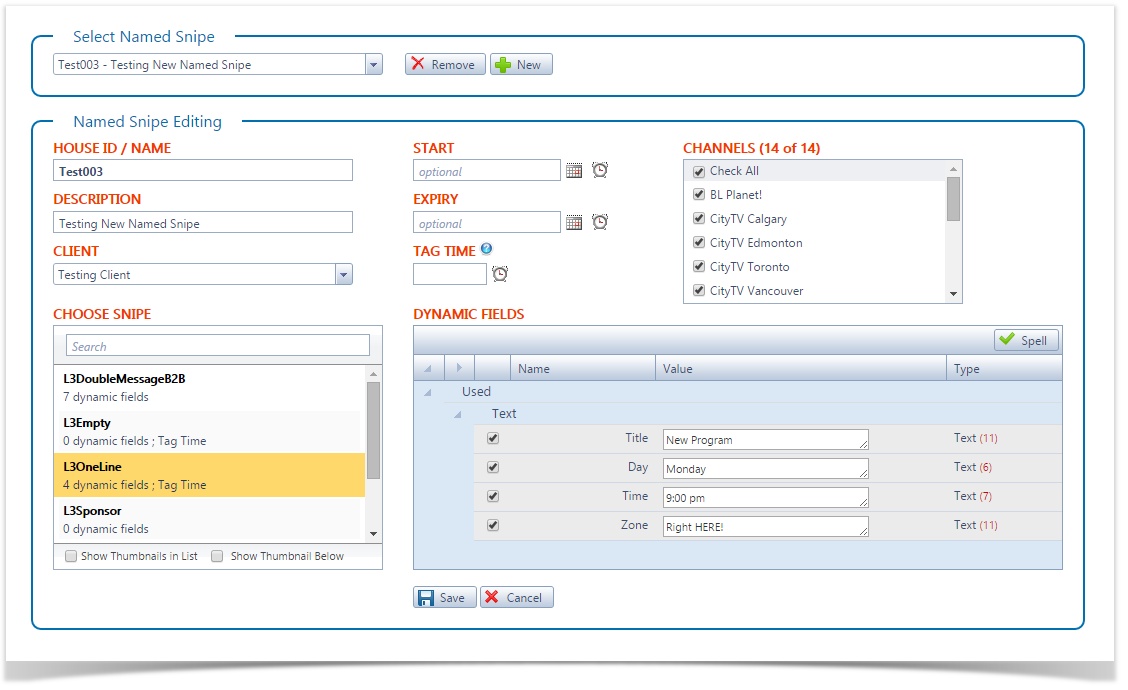
Editing Notes
- Names must be unique - you cannot have 2 named snipes with the same name.
- At least 1 channel must be selected. The default is to select all.
- Start is optional
- Expiry is optional
- Tag Time is optional but is not enabled for all snipe scenes (if it is disabled it is because the selected snipe doesn't support it)
- You can change the snipe associated.
- However only dynamic fields that match will be kept and you may need to enter new dynamic field values.
- If tag time is not applicable to the new scene any tag time entered previously will be removed.
TIP: To edit multiple named snipes you can click the Snipe Editing button in the top-right corner of the overview grid to activate the batch editing mode. When you do this you can add/edit multiple snipes without returning to the grid after each save.
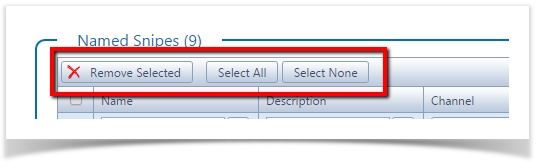
Removing Named Snipes
- In the snipe management grid you can select 1 or more to delete
- Click on a row anywhere to select just 1
- Use one of these options to select many
- Use Shift and CTRL keys to select multiple rows
- Click-and-drag to select a group of snipes together
- Click on individual select checkboxes in the first column to select any combination of snipes
- Use the Select All button to select all the visible snipes
- Use the Select None button to clear/remove all your selections
- Click the checkbox in the header of the selection column to toggle all selected/unselected
- Click the Remove Selected button in the header of the snipe grid
- Confirm you want to delete the selected snipes
Adding a Automation TriggerOff
In the Metadata of your Named Snipe, add an attribute and label it TriggerOff.

|
|