Configuring Windows Features and Adding Internet Information Services (IIS)
The following article covers setup for Win 2012 Server and Windows 7. For additional OS support please contact support@bannisterlake.com
Web server features will need to be enabled on your server
Step 1- Open Control Panel and open Programs Features.
Step 2 - Click on Turn Windows Features On or Off
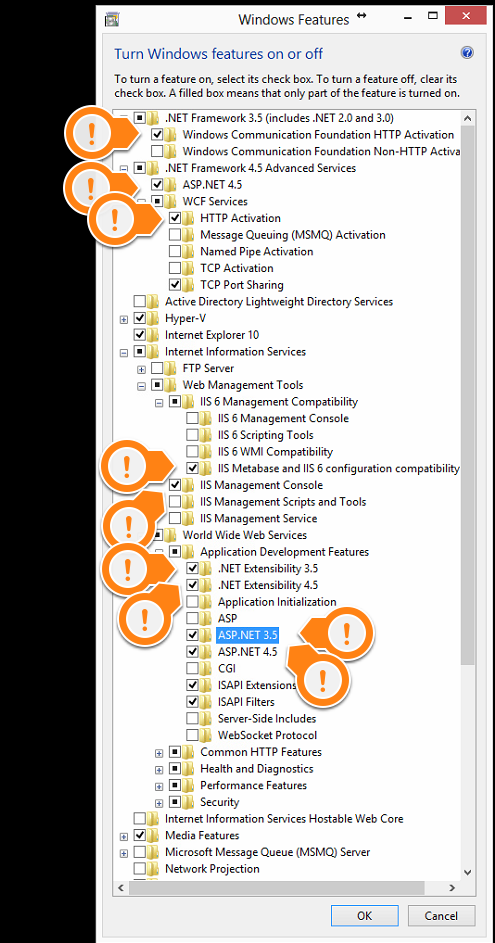
Step 3 - Ensure the following marked options are enabled
WINDOWS SERVER 2012 OPTIONS
WINDOWS 7 OPTIONS
In addition be sure to enable Static Content under World Wide Services if it is not already enabled
Step 4 - Click OK
Configuring IIS
Step 1 - In the Control Panel, open the Administrative Tools
Step 2 - Open the IIS Management Control
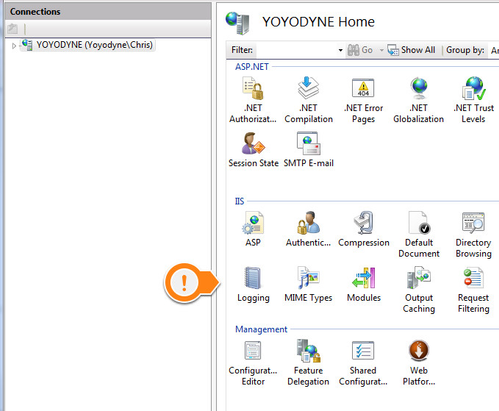
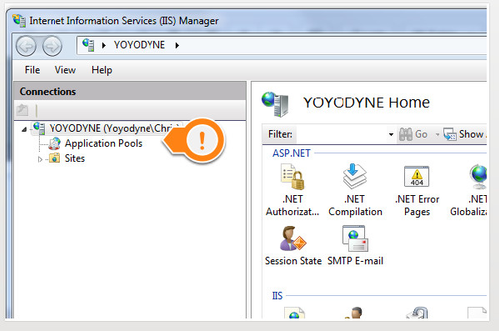
Step 3 - Click on the top node
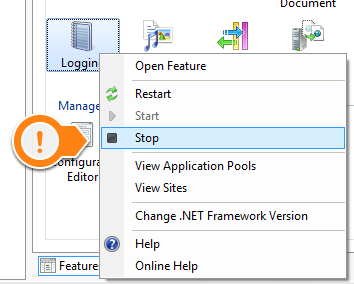
Step 4 - Right click on logging for IIS
Step 5 - Disable this as it is not needed for internal systems.
Step 6 - Expand the top node
Step 7 - Click on the Application Pools node
Step 8 - Find the DefaultAppPool
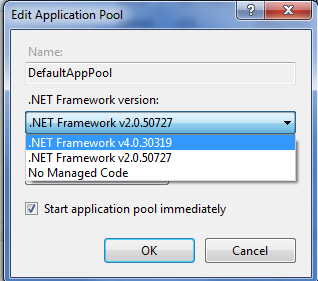
Step 9 - Double click on this and set the .NET Framework to v4.0.xxxxx
Step 10 - Click [OK]
Your IIS is now configured and you are ready to continue with installation of your product.


