This tool is designed for importing candidate images (i.e. headshots) en masse into Flow for Elector. In preparation for using this tool, all the candidate headshots should be placed into a single folder. The tool uses the headshot name to search for matching candidates that are available in the Flow database and then assigned the images as matches are found. The latest version of this utility can be found here: http://bannisterlake.com/dl/installs/Elector/
Head shot filename formats
There are 2 formats that are supported by the Headshots Importer:
...
The preferred format is the Letter-specifierformat.
Classic filename format
This filename format is composed of 3 sections with each section separated by an underscore character ( _ ):
...
Hyphenated names are treated as a single word by the tool. For example, 'GOODWIN-CLAIRMONT_Vanessa_GRN' indicates that the candidate's last name is: 'Goodwin-Clairmont' and the first name is 'Vanessa'. The same goes for first names. For example, 'ZHANG_Regan-Heng_GRN' indicates that the candidate's last name is 'Zhang' and the first name is 'Regan-Heng'.
Letter-Specifier filename format
This filename format uses a letter followed by the ‘=' character to specify which component of the name the text following the ‘=’ character is. The text following the ‘=’ character is not case sensitive. The order of the name pieces are not important i.e., you can specify the ‘A’ part first or the 'F’ part first, etc.
...
L=lastname F=firstname P=partycode A=areaname : ‘L=Trudeau F=justin p=LIB a=papineau’
P=partycode L=lastnames F=firstname : ‘p=ndp f=van der veen L=Jessica’
C=areacode L=lastname F=firstnames P=partycode : ‘c=41 L=LEBLANC f=Paul Emile p=PC’
Head Shot Importer Interface
After launching the Importing tool you will be presented with the Preferences dialog. To ensure you have the correct settings use the ‘Test Connection’ button to verify your connection details are correct.
...
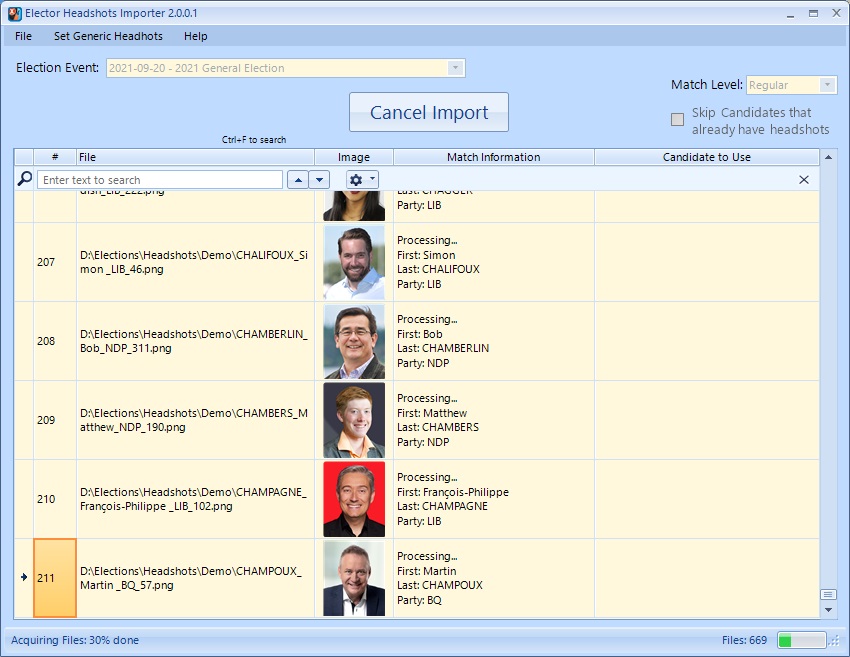
Acquiring the head shot files and parsing their filenames. During this portion of the process, you will see the grid being populated with the images from the files as well as the parsed name components. The number of head shot files found in the source folder will be shown at the right corner of the UI along with a progress bar indicator.
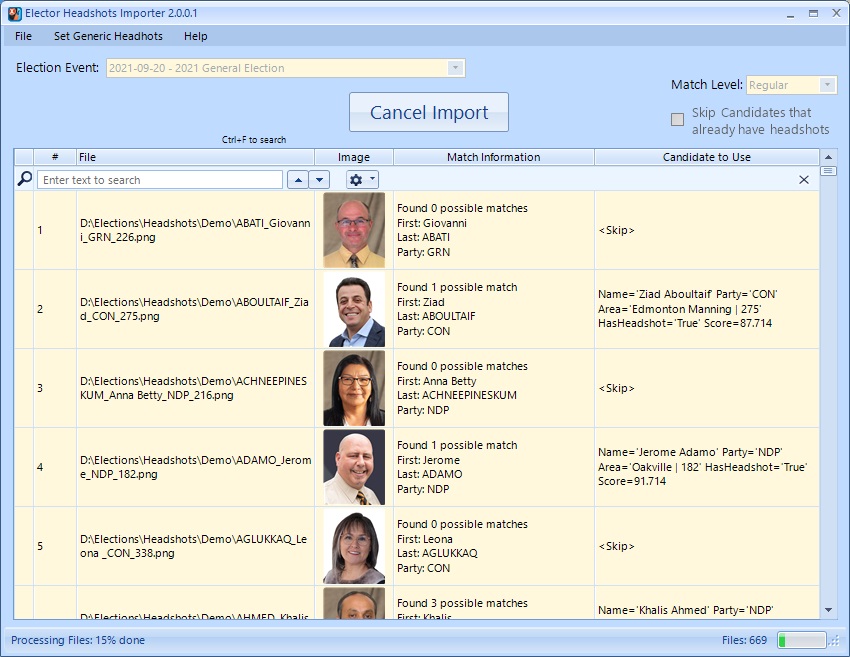
After all the head shot files have been acquired, the next phase will be to try and find matching candidates from the database. You will start to see some information in the ‘Candidate to Use’ column of the grid as well as how many potential matches were found in the top of the ‘Match Information’ column.
The next phase will be for the user to manage the candidate matches found. Once the matching is complete, the ‘Accept’ button will appear to the right of the ‘Cancel Import' button. The ‘Filter Matches’ drop-down list control will also appear on the left side of the UI, just above the grid. This control allows the user to focus on a smaller section of matches.


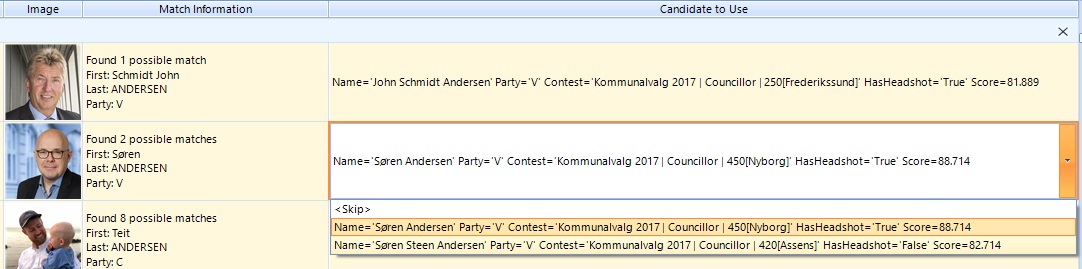
The user can also use the search control to find any text regarding a head shot or candidate match. The tool will automatically try to use the best match for a head shot but sometimes these are not correct and will have to be manually corrected by either choosing a more appropriate candidate or skipping it altogether. To change the candidate match, double click on ‘Candidate to Use’ item for the head shot.

Finally, the user clicks on the ‘Accept’ button to start importing the head shots into the database. During this phase, conflicting candidate matches will have to be resolved first (if any). The following dialog shows what a conflict looks like:


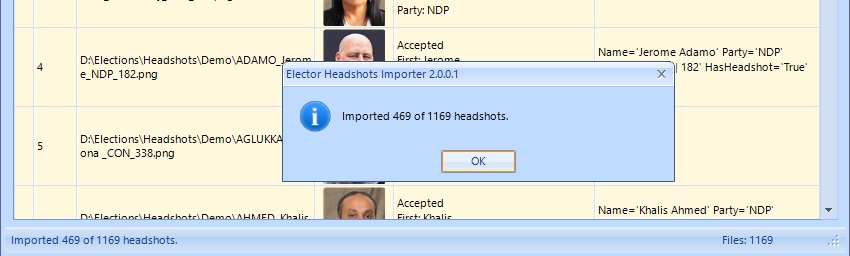
To resolve a conflict, change the selection on one or more of the items and then click the ‘OK’ button. Clicking on the ‘Cancel’ button reverts the tool back to phase 3 where it will await for further user interaction. Otherwise, it will automatically proceed to the next conflict. Once all conflicts have been resolved, the head shots with selected candidates (that are not marked as ‘<Skip>’) will be imported into the database. A message dialog will then show up indicating how many head shots were successfully imported. The same message is also shown in the status bar at the bottom left of the UI.

Special Characters in Filenames
Filenames can use any character in the current code page for a name, including Unicode characters and characters in the extended character set (128–255), except for reserved characters.
...
See also: File and Directory Names in Windows
Troubleshooting
| Tip |
|---|
TipThe tool tries its best to match the candidate names and party information parsed from the filenames against the information in the Flow database. The most likely cause of these mismatches will be that the candidate names in the Flow database do not match exactly the name parsed from the headshot files. The simplest way to solve this issue is to modify the mismatching filenames such that the candidate names match exactly and then re-run the tool again. Alternatively, If there are less than a handful of unmatched headshots left, you can opt to use the Flow interface to assign the headshot images to the candidates manually. |
...